When do I need to resurface my floor?
While wooden flooring is well-known to be long-lasting and durable, years of use can cause damage to its surface. From use of harsh floor cleaners, high heeled shoes, exposure to moisture, and other factors, the finish can degrade over time, looking cloudy or scratched if not maintained properly. And while floor polish can provide a glossy sheen to your floors if applied, if there are deep gouges in the wood and the scratches are too many, you may have to consider resurfacing your floors. This entails a process of floor sanding and polishing, which will do wonders in rejuvenating tired floors.
How do you prep a floor for sanding and polishing?
So what do you need to prepare for floor sanding and polishing? If you are currently inhabiting the space that needs resurfacing, remove all objects and furniture from the room to give contractors enough space to work without hindrance. This includes staples and tacks. Ensure that the space is empty, and that your contractor will have uninterrupted access to water and electricity, as this is required for floor sanding.
And, if you have not yet finished with painting your walls, do that first! Leave the final coat off the skirting boards as the floor sander will inevitably come into contact with it, however.
If you are unable to completely empty the area, cover any remaining objects with a cloth in order to guard against dust that will come from sanding. And don’t forget to ensure that there is enough lighting for your contractors to be able to work in the room. As sanding produces a lot of dust, it would do you well to cover vents, windows, and the like to prevent dust from getting into these.
What is the process?
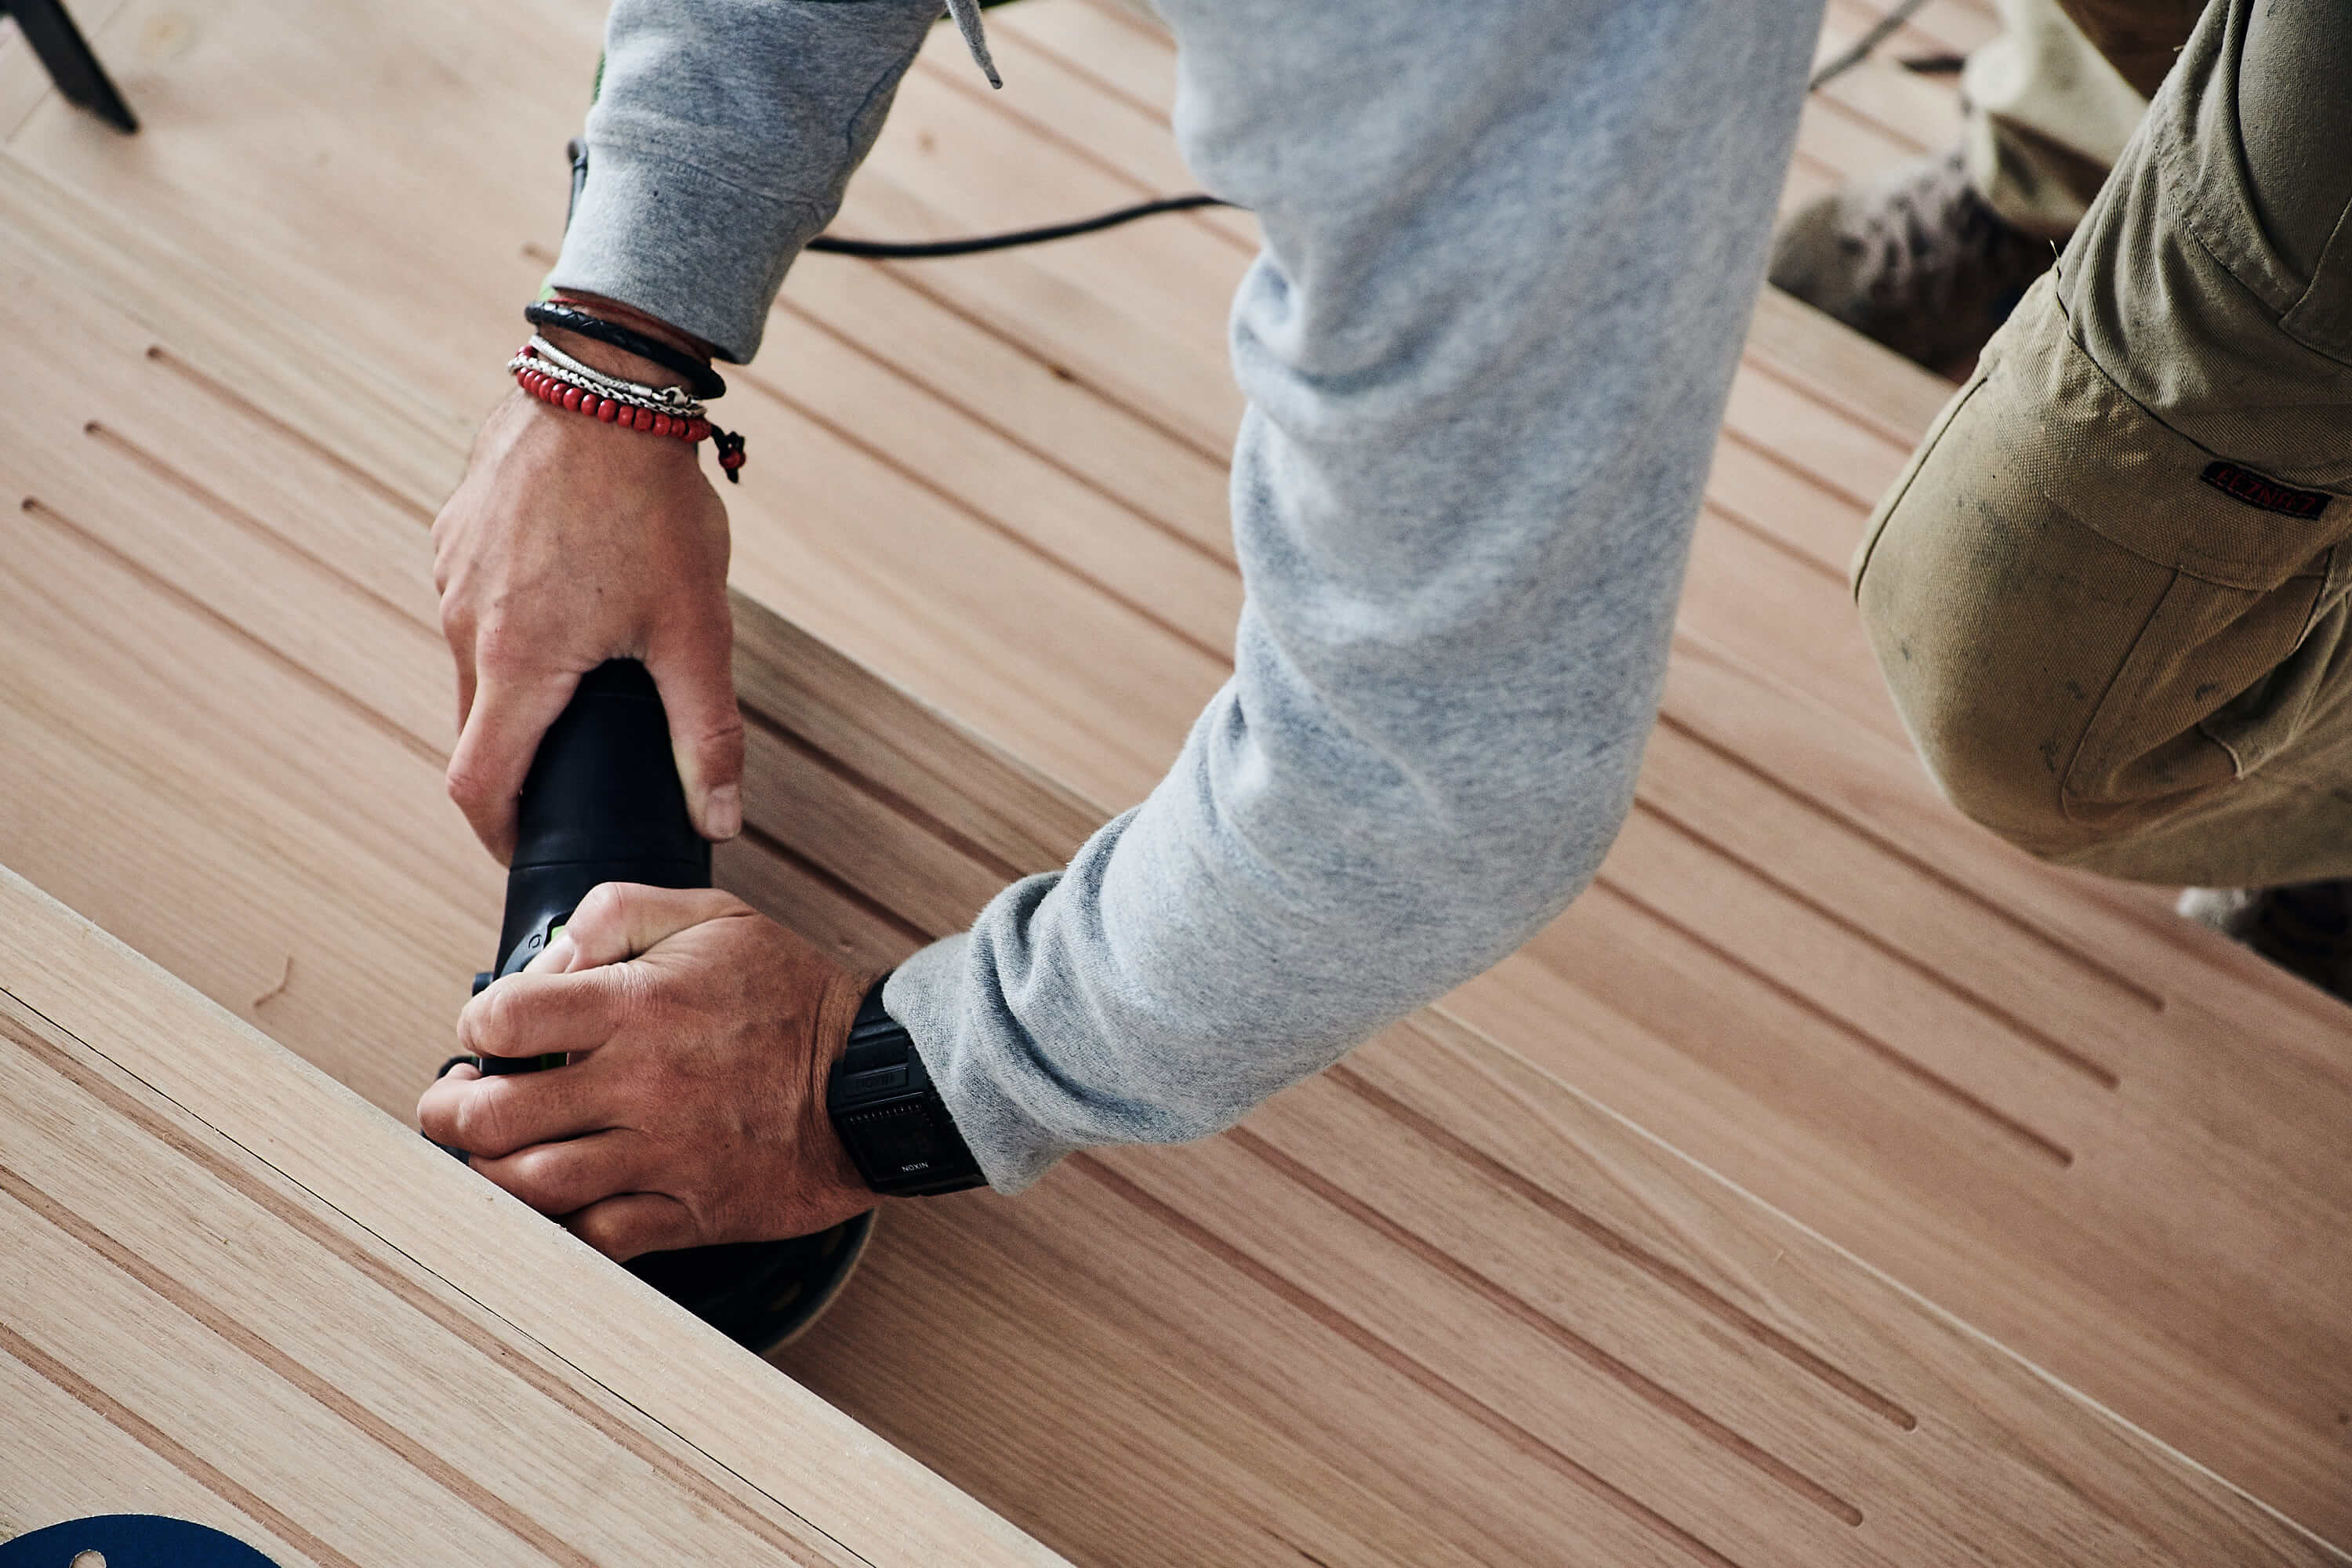
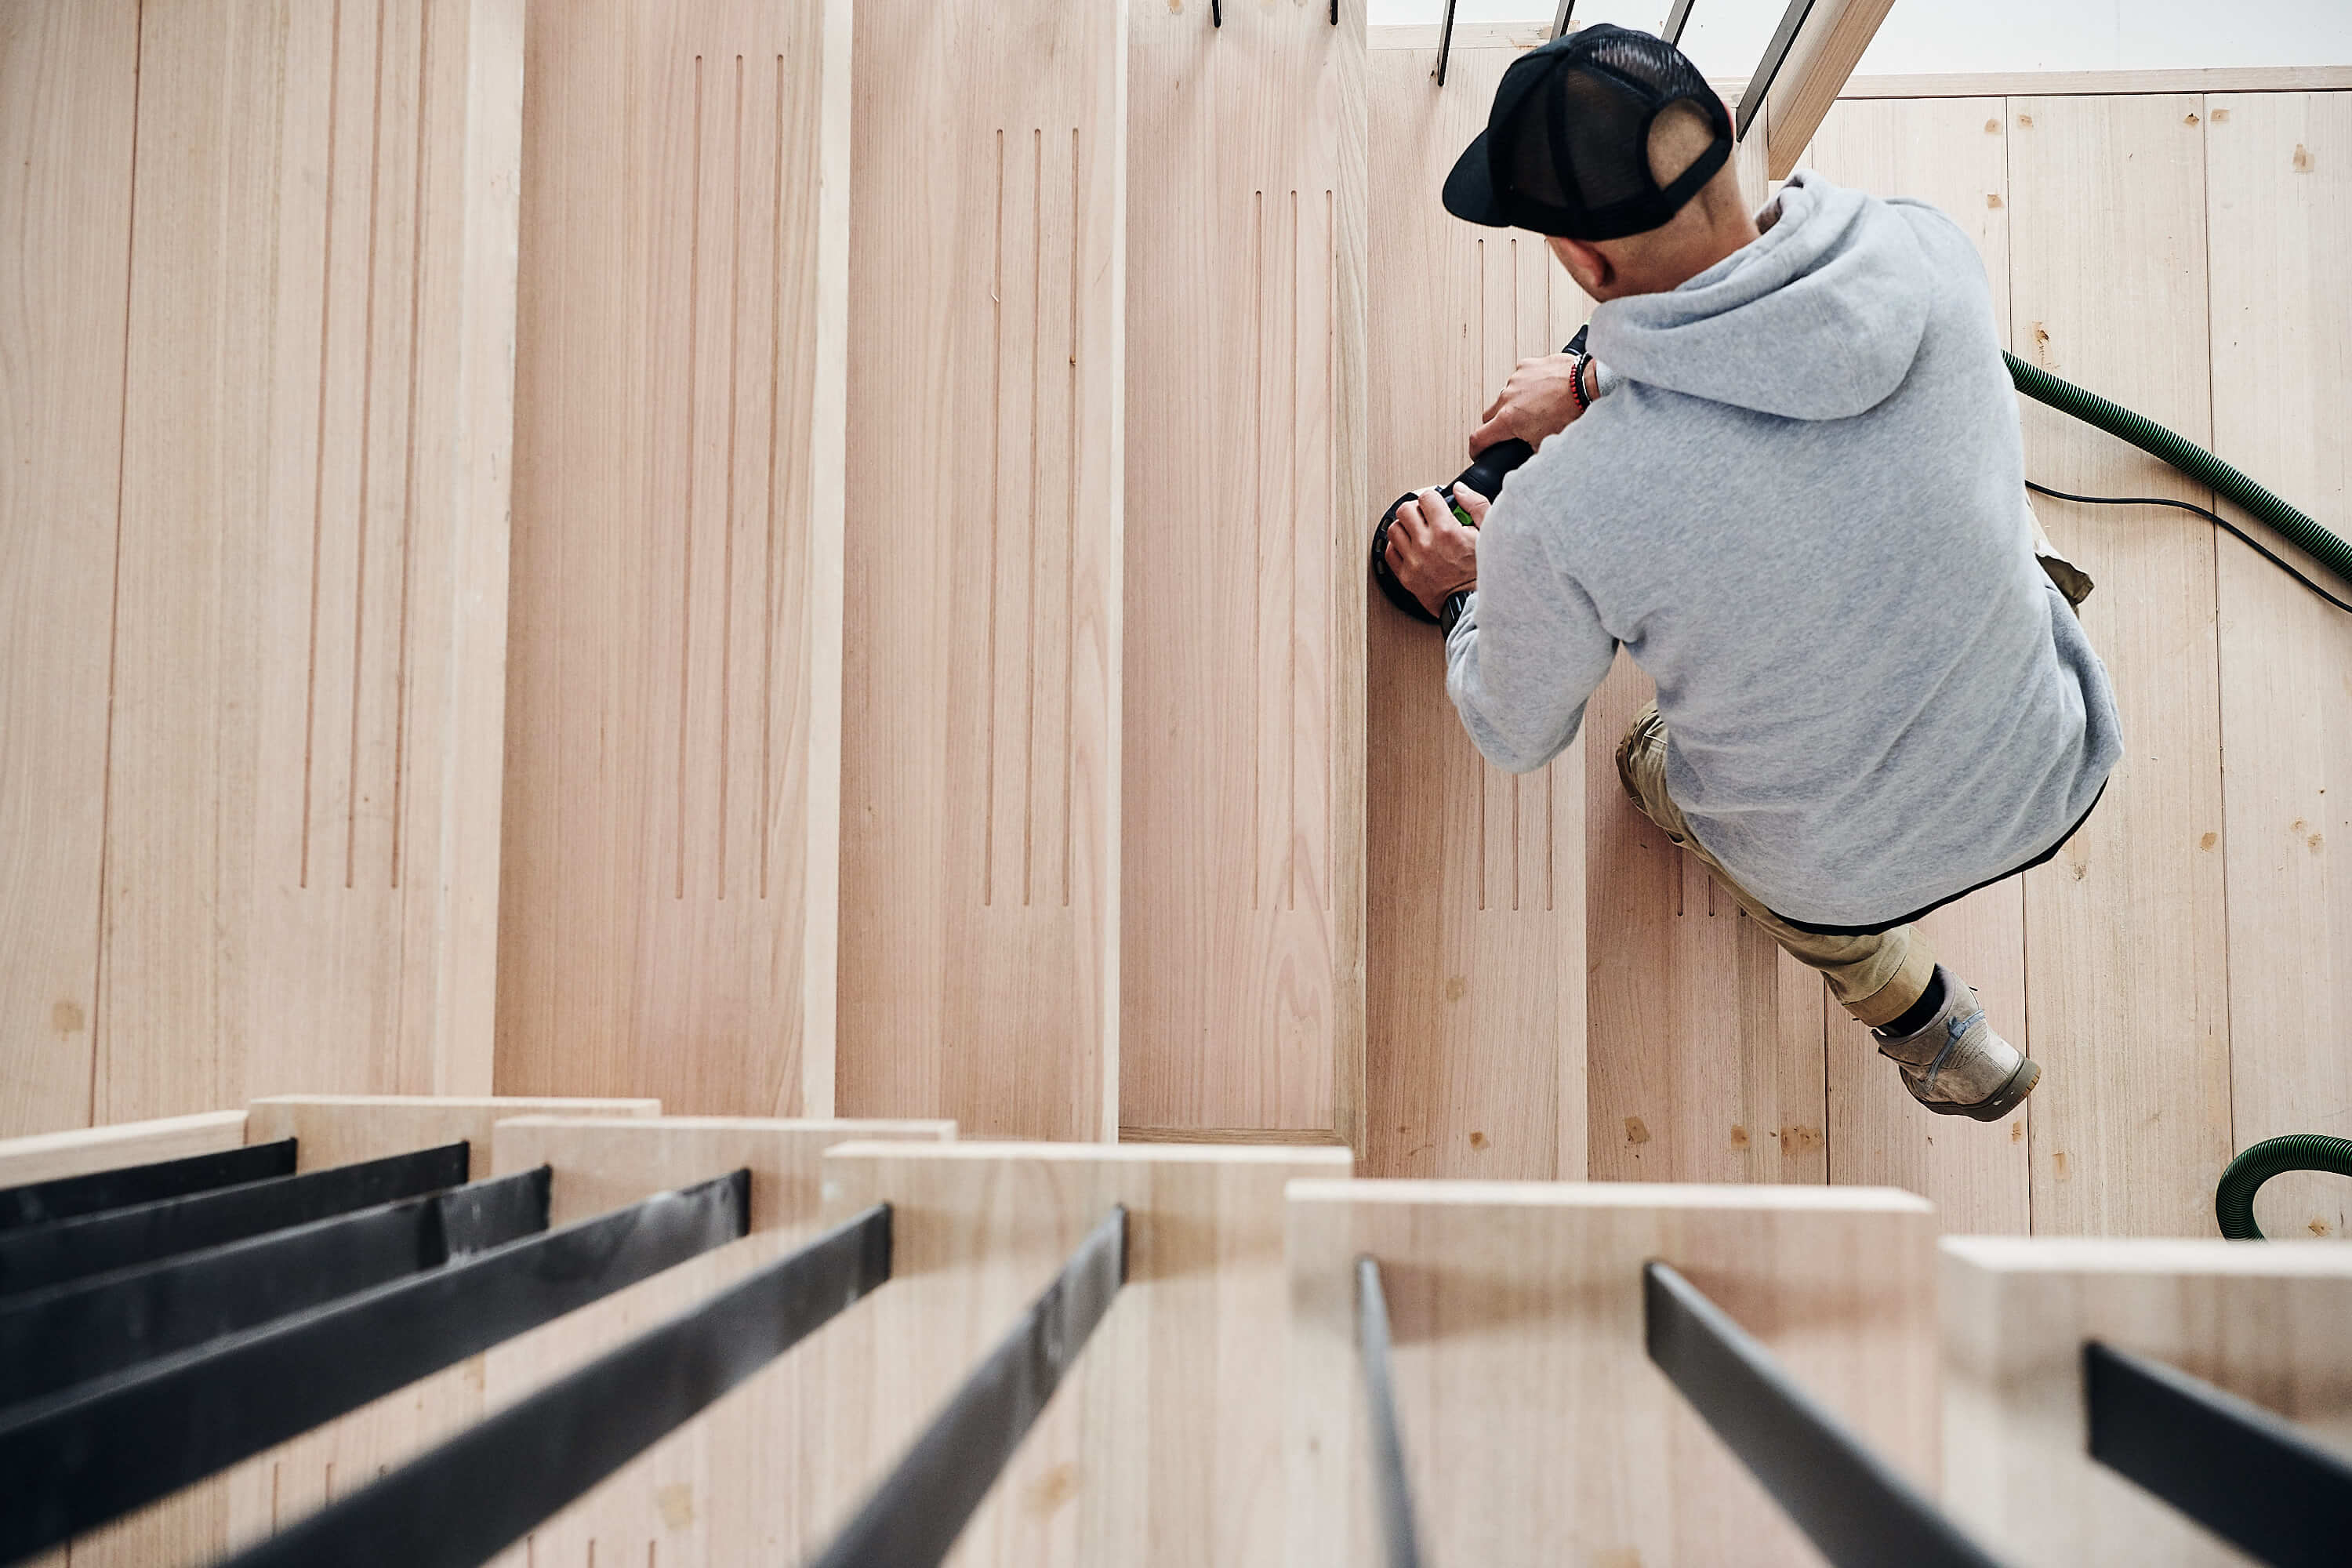
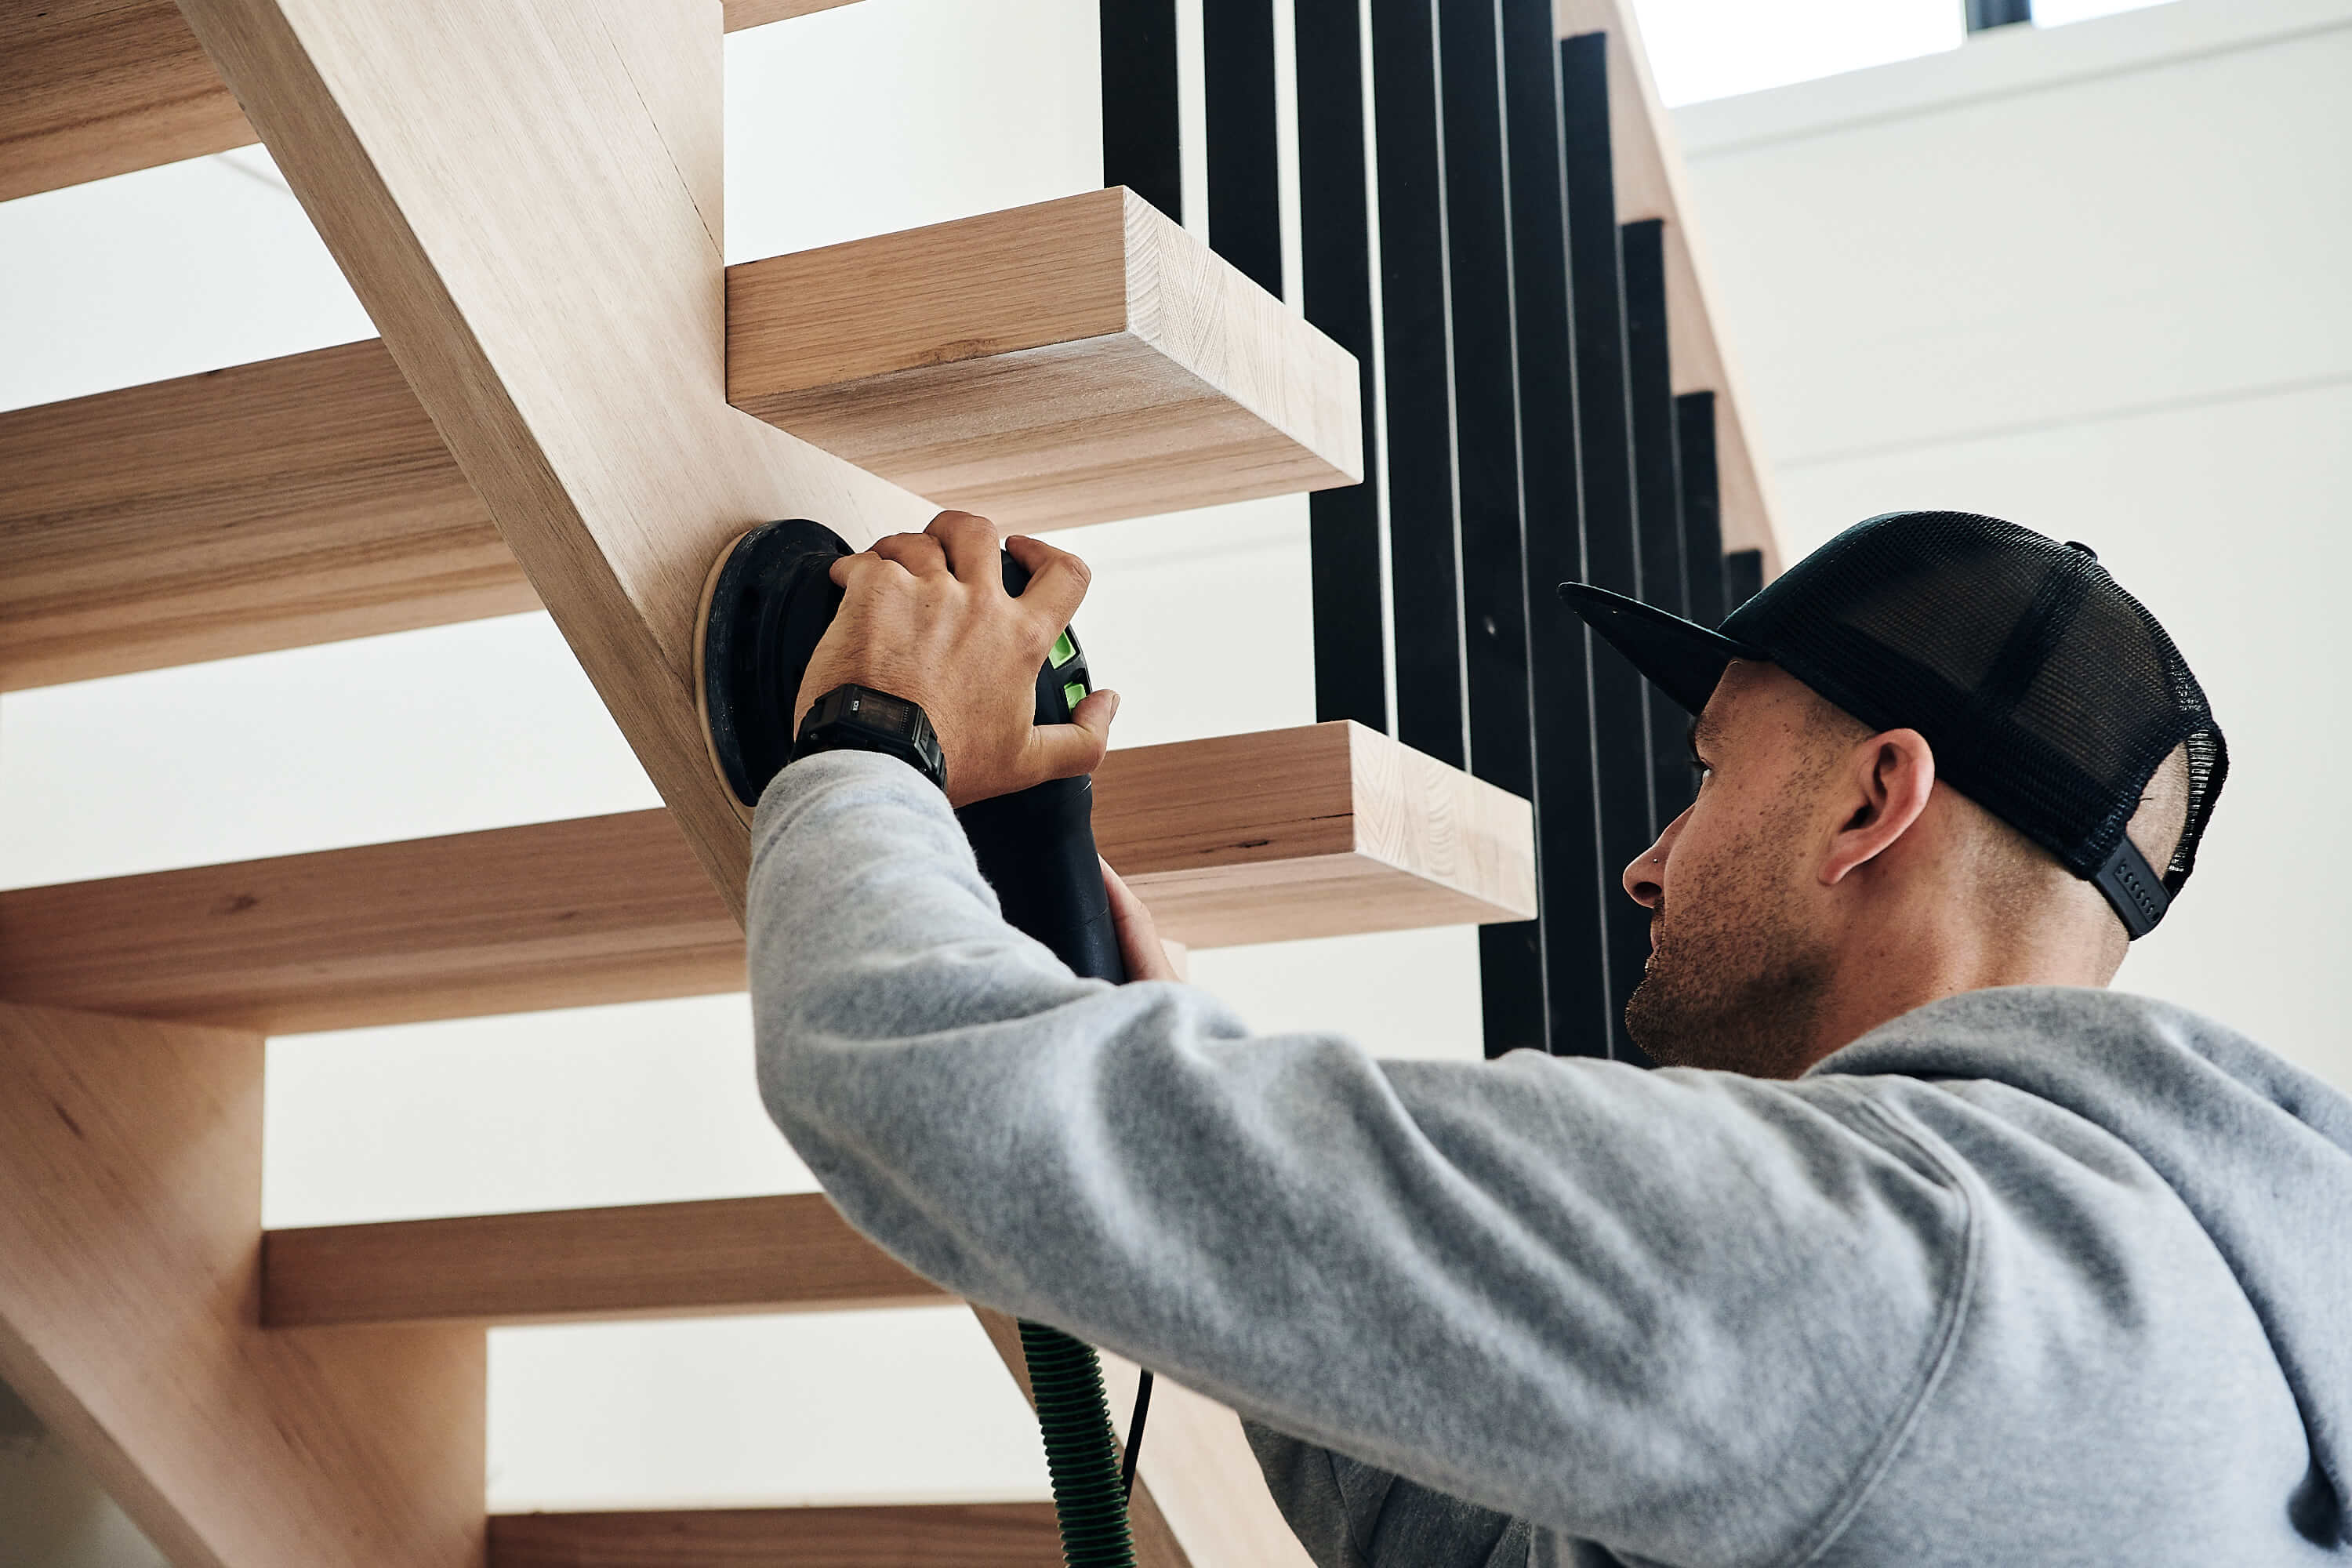
Sanding entails first punching all the nails down below the floorboard surface. This is to ensure an unhindered sanding process. Starting with a coarse grade sandpaper, a floor sander will be used to sand back existing floor finishes, coats, stains, and varnish. Moving on to medium grade sandpaper to further buff away prior coats, a specific tool called a edge floor sander will be used for hard to reach edges that the main floor sander is not able to get to.
After this initial sanding process, punched holes will be filled in with floor filler to ensure a smooth surface with no holes.
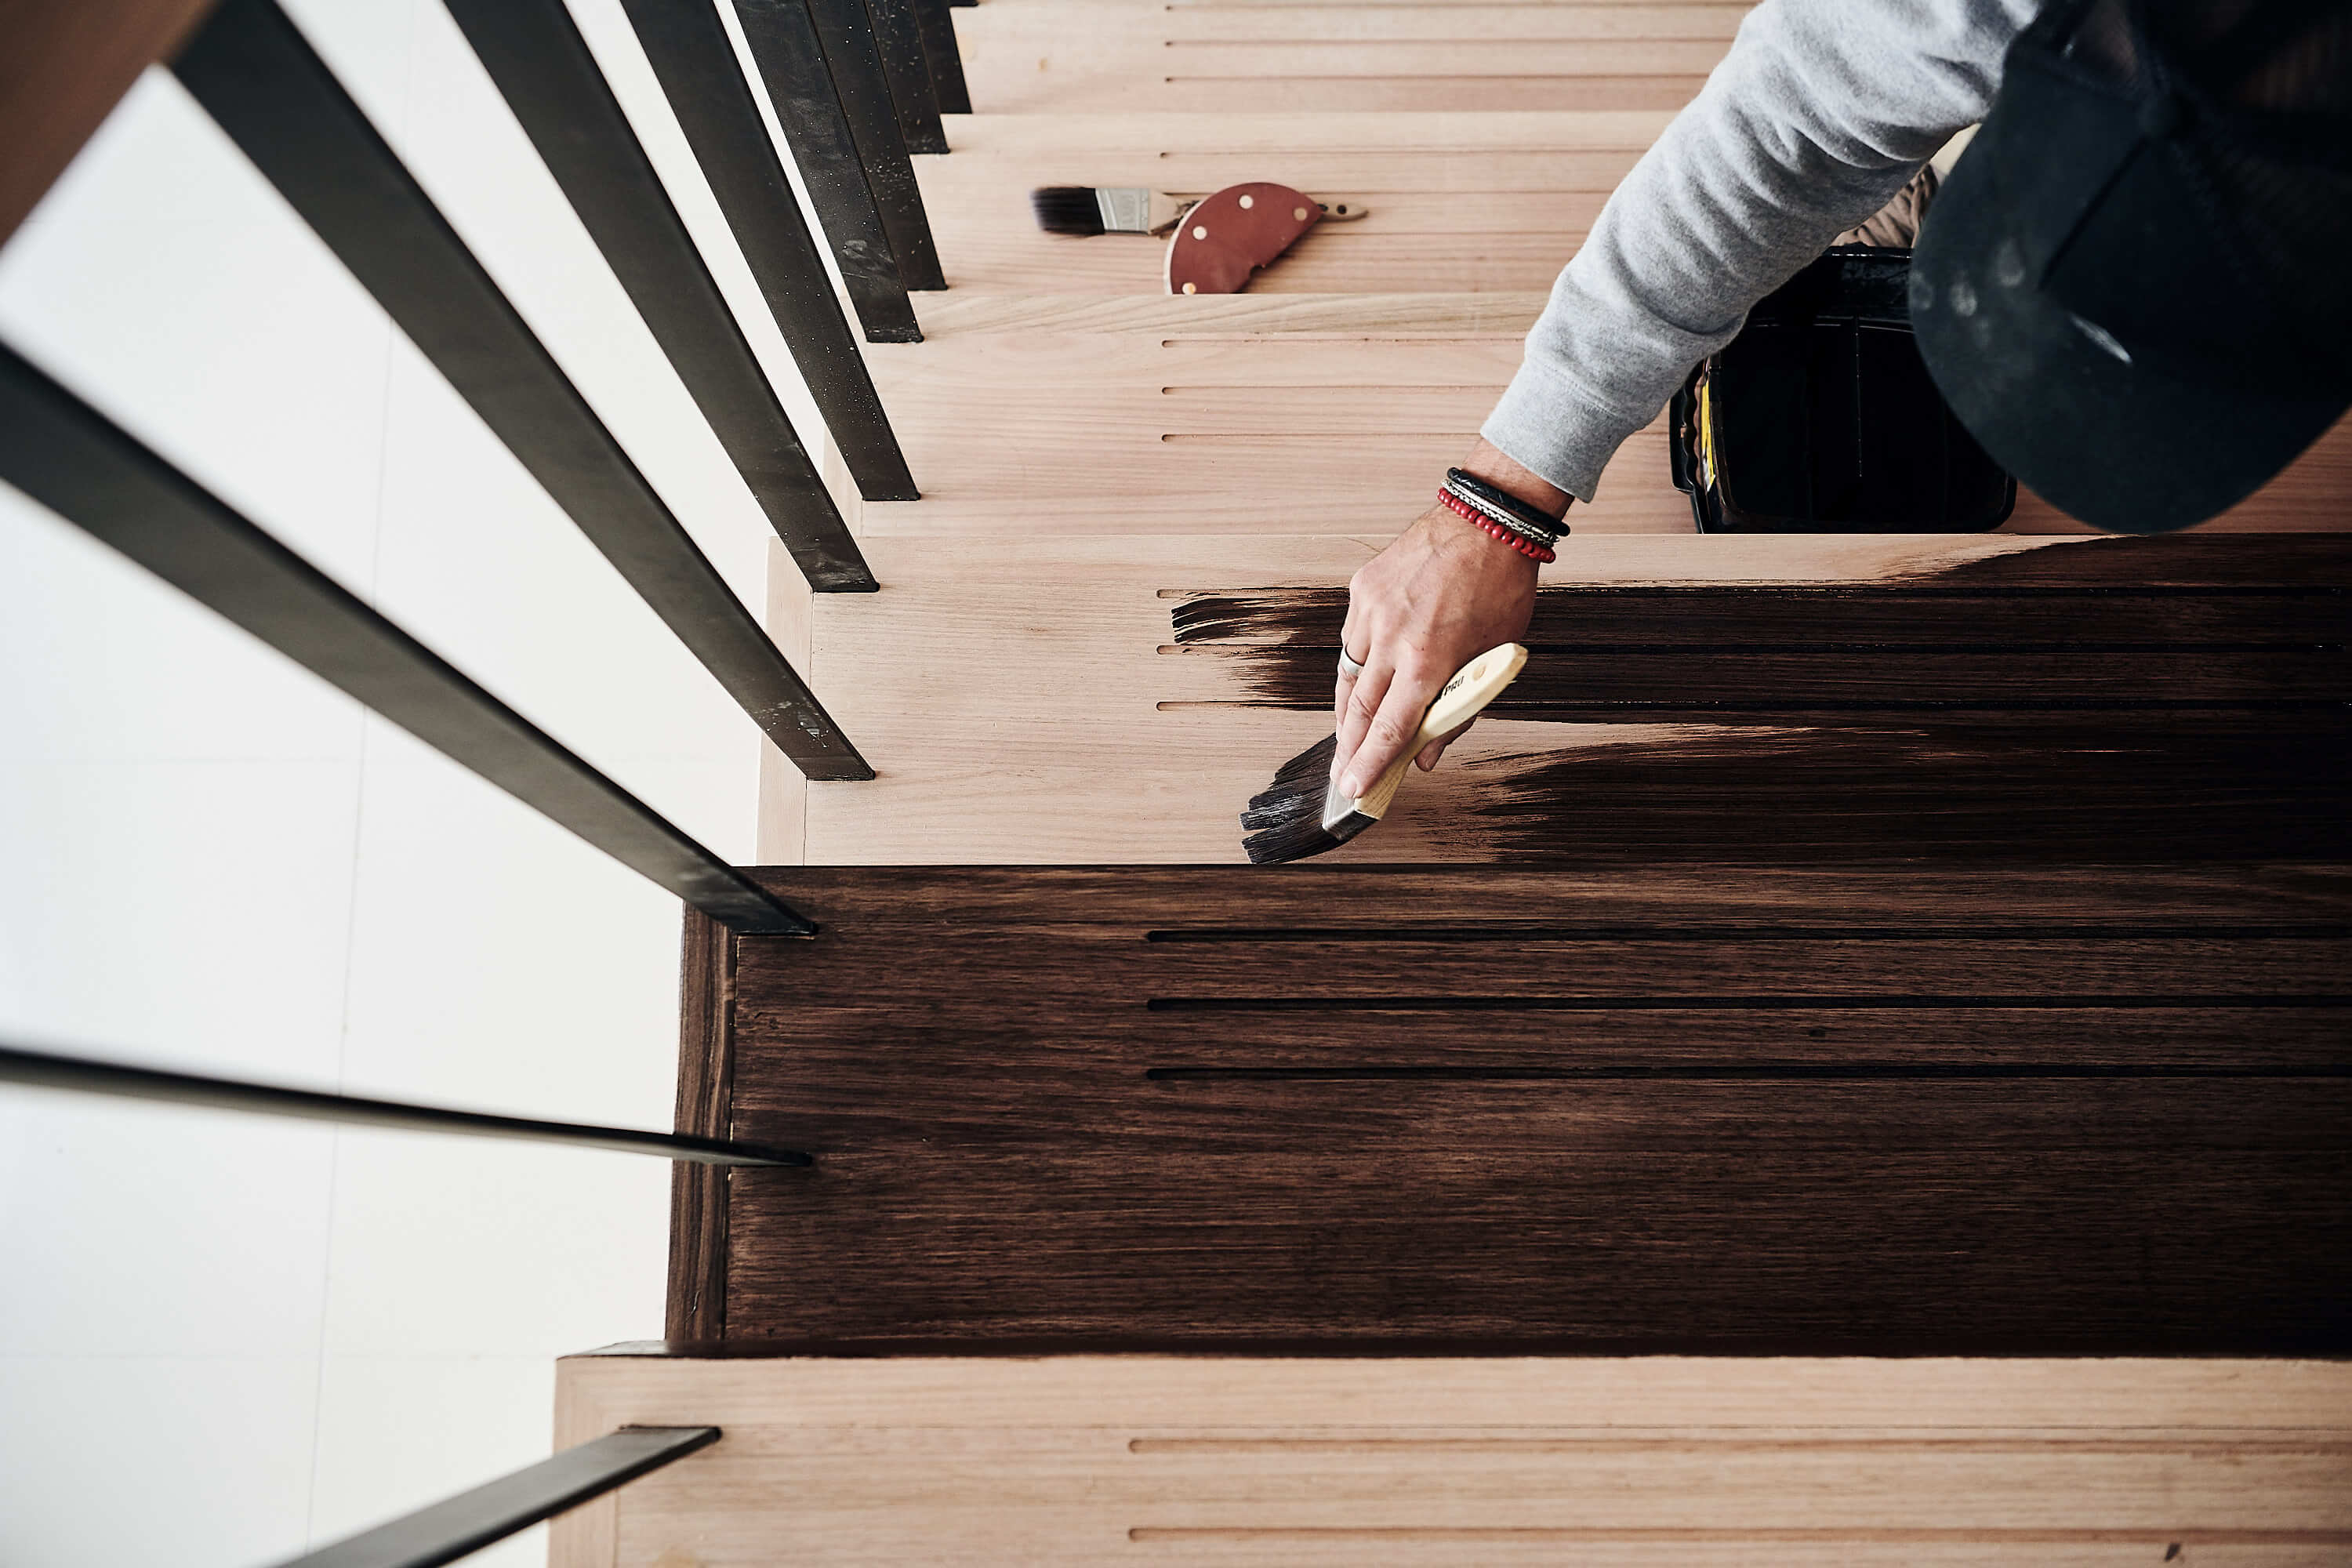
Finally, a fine grade sandpaper is used to finely smooth the wooden surface, and buff away excess floor filler. If you are after a new stain for your wooden floors, this is when this will be applied!
Once this sanding is complete, then comes the polishing. Using a base coat that will seal the timber, your wooden flooring should be allowed to dry overnight for best results. This seals the open nature of your timber flooring and gives it time to create a proper barrier that will help the longevity of your chosen finish. It is worth noting that this base coat may need to be sanded back with a superfine grade sandpaper to equalise the timber grain, before new coats are applied. Each coat takes about a day or two to dry if you are using solvent-based solutions, whereas waterborne polyurethane is quick drying within 8 hours, and you should be looking at at least 3-4 coats applied.
How long does floor sanding and polishing take?
This wholly depends on the condition of the floor prior to sanding, the size of the space that needs to be resurfaced, the polish that you choose to use, and the temperatures at the time of the project. Whether you are after gloss, satin and matte timber floor finishes to transform the look of your floors, you may be looking at at least a week from start to finish in order to ensure that the proper procedures are followed and your floors will be done correctly.
Wait a minimum of eight hours before walking on your newly finished floors, and avoid wearing hard shoes that may leave scuff marks. It is best to wait a week after floor sanding and polishing to ensure that the surface is fully cured before moving your existing furniture back – but don’t drag it in! Enlist the help of other family members or movers to lift it into the room to minimise dragging and possible damage, and don’t place rugs on the surface until after a week to ensure that it will not indent the floors with its backing surface.
How often do I need to resurface my timber flooring?
Generally speaking, if your wooden floors were installed properly and finished well, and if you were able to keep up with its minimal maintenance requirements, it should take about 10-15 years before you would need to resurface your flooring. That’s a long period of time, which really does underline the value of having wooden flooring for your home. Not only will it be versatile enough to match with your changing design needs throughout the years, but when you do need a refresh but still want the look of beautiful wooden flooring, floor sanding and polishing will give you the look you need without having to reinstall new flooring.
