The Complete Process of How To Sand Timber Floors

From humble beginnings in the heart of Melbourne, to our award-winning showrooms in Mornington and Geelong, Kustom Timber has remained steadfast in its commitment to quality products, attention to detail and superior customer service.
Sanding and refinishing wooden flooring is perhaps one of the best ways to breathe new life into tired-looking floors after years of use. Depending on the protective coating applied at installation, the nature of the wood used, and the general wear and tear that comes from regular to constant use over time, scratches and gouges can occur accidentally, which can affect the elegant style that hardwood provides any room. If you’re wondering how timber floor sanding works to rejuvenate your flooring, and even add more value to your home, read on to find out the complete process of sanding!
The Right Equipment
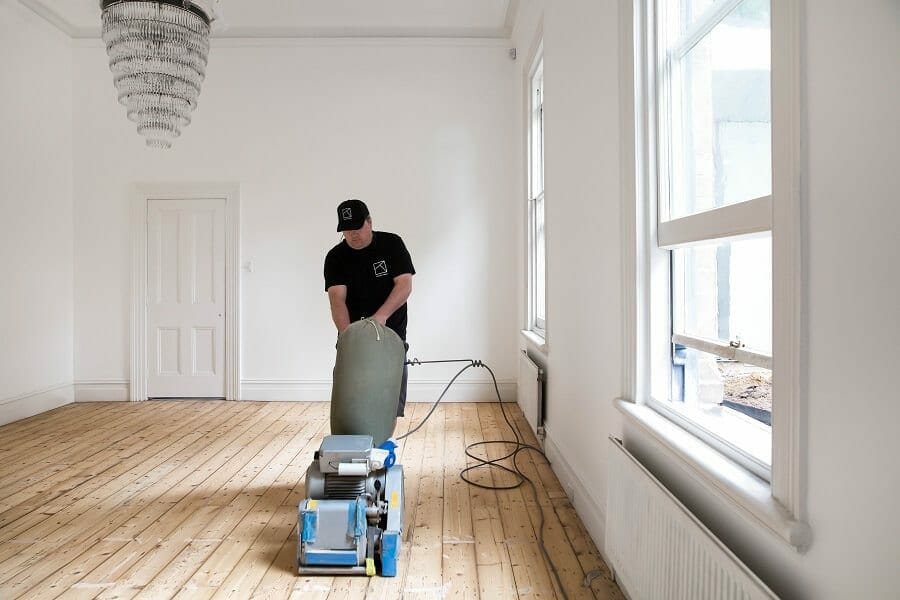
Floor sanding is a time-consuming process that requires high-quality tools for high-quality results. This includes, but is not limited to, floor sanders, sandpaper, floor edger for skirtings, small detail floor sander for corners, protective gear, a vacuum cleaner, heavy-duty extension cords, and someone to help you tackle this job. After all, floor sanding can be quite tricky, especially when done alone.
Remove Any Floor Coverings and Furniture
Floor coverings include carpets, rugs, nailed edges, and stables. Remember that when using a floor sander, it’s easier to keep the floors free from any obstacles to ensure that your timber floor sanding is even.
Remove Nails
Protruding nails must be removed or hammered into the surface by at least 4mm to ensure a smooth sanding process.
Remove Debris and Ensure Clean Floors
Make sure that you have a clean surface to prevent sanding mishaps.
Use a Floor Sander and Hard Sand Edges
For the first round of sanding, start with the lowest grit of sandpaper you have. Go slow and steady, and check your sandpaper constantly to ensure that it does not need replacement and that you are sanding your floors evenly. Starting in the centre of the room, smoothly run your sander constantly, and go with the wood grain.
With each stage of sanding, use a vacuum cleaner to get rid of all the dust that has accumulated. This provides a clean surface for the next stage and also helps reduce the risk of inhaling dust particles, giving you a safer environment to work in.
Coat Appropriately
Sanding is only effective if, at the end of it, you coat your floors with the appropriate product to ensure both shine and protection. Don’t rush this stage, and give your floors time to dry after each application of a coating. This raises the chances of your coating being applied evenly and effectively, which will ensure that the time-consuming process of sanding was not for nothing.
Because timber floor sanding can be quite an exhaustive process, it’s always better to rely on the professionals to ensure a job well done in a timely and efficient manner. Not only that, but you’ll save yourself the headache that can come from trying to figure out how to do it yourself, too! Contact our team at Kustom Timber to learn how we can help you breathe new life into your flooring today.

From humble beginnings in the heart of Melbourne, to our award-winning showrooms in Mornington and Geelong, Kustom Timber has remained steadfast in its commitment to quality products, attention to detail and superior customer service.
