


Renovating? Looking into engineered timber flooring for your dream space? It’s a great choice.
But how do you install engineered timber flooring? What’s involved? Can you do it yourself?
These are all questions we get pretty regularly. From the vital pre-installation checklist, ensuring your space is primed for perfection, to understanding the various installation techniques, we’ve got you covered. We’ll guide you through the nitty-gritty of subfloor preparation, share insider tips on achieving that flawless finish, and even tackle the big question: to DIY or not to DIY?
Here’s how to install engineered timber flooring… the Kustom way.
1. Pre-installation checklist
There are a few things that we keep in mind with engineered timber installation, and if you’re doing it yourself, keep these in mind yourself!
- Climate control: think Goldilocks and just-right temperatures (between 10°C and 30°C) and humidity (45%-65%). This is the best representation of an everyday living environment.
- Keep waste in mind: when you’re calculating your plank needs, add a little extra. We recommend 10% for most floors and 25% for parquetry. Better to be safe than sorry!
- Acclimatise your timber: before installation, it’s a good idea to give your planks 48 hours to adjust to their new environment. It’s a simple step, but it’s crucial in high humidity, prevents warping, and ensures flawless end joints.
2. Prep for perfection
Preparation is key! It’s always essential to make sure the stage is set for a smooth installation. No wobbly floorboards here – we’re building a rock-solid foundation that’ll echo the enduring beauty of your chosen timber.
It’s all about that subfloor prep. Concrete, plywood, existing timber – each subfloor presents its own unique challenge, which keeps things nice and interesting! Our seasoned installation team knows them all and can expertly tame unevenness, mend cracks, and install moisture barriers.
Concrete subfloors
Concrete subfloors need to be bone-dry (below 4% moisture content) and protected from moisture with a plastic barrier, whether you’re floating your engineered timber planks or gluing them down.
For glued floors, the slab must be level, clean, and sound – we’ll lightly grind and remove contaminants like oil, paint, grease, glue, dirt, wax, and sealant before installation. Floating floors on concrete or plywood just need basic flatness (3mm under 1.5m) and a 200µm plastic moisture barrier underlay.
Wooden subfloors
Wooden subfloors need to be between 9-13% moisture content. Lower floors with soil below require a bit of extra attention:
- Dampness check: assess ventilation and dryness. Increase ventilation if needed, or cover soil with plastic to reduce moisture. In severe cases, you can even install drainage or mechanical ventilation.
- Moisture measurement: you can use a moisture meter to check your subfloor’s moisture. If you have plywood or particleboard, moisture meters aren’t as reliable. If you’re worried about moisture, use the oven-dry method: cut a small sample and dry it in an oven to measure its exact moisture content.
- Stability and cleanliness: check for movement, noise, and secureness. Sand if needed and remove wax from new particleboard before gluing.
Bonus tip: Regardless of the material, if you suspect high moisture, it’s best to test with the oven-dry method for the most accurate results.
Tile subfloors
This includes ceramic, marble, slate, terrazzo, or any other tile variant. Whether you choose to float your planks or bond them directly, keep these things in mind.
- Floating: flatness is essential. There should be no dip of more than 3mm in any 1.5m stretch. And while you won’t be directly connecting to the subfloor, proper ventilation to prevent moisture is still a must! A moisture barrier can help keep things dry and stable here.
- Glued: uplifting existing tiles is ideal, but fixing directly is okay if they’re secure. Grind the surface smooth for better bonding, and fill grout lines and voids. Take note of moisture here too!
Heated subfloors
We love toasty toes! But new hydronic systems need a pre-show.
- Turn on the heating 2 weeks before installation and dry the slab to 27°C. Then rest for 48 hours.
- After a week, slowly reintroduce the heat, raising the floor temp by just 2°C per day until it reaches a cosy 26°C.
- Follow the same rhythm in reverse when turning off the heat. Consistency is key!
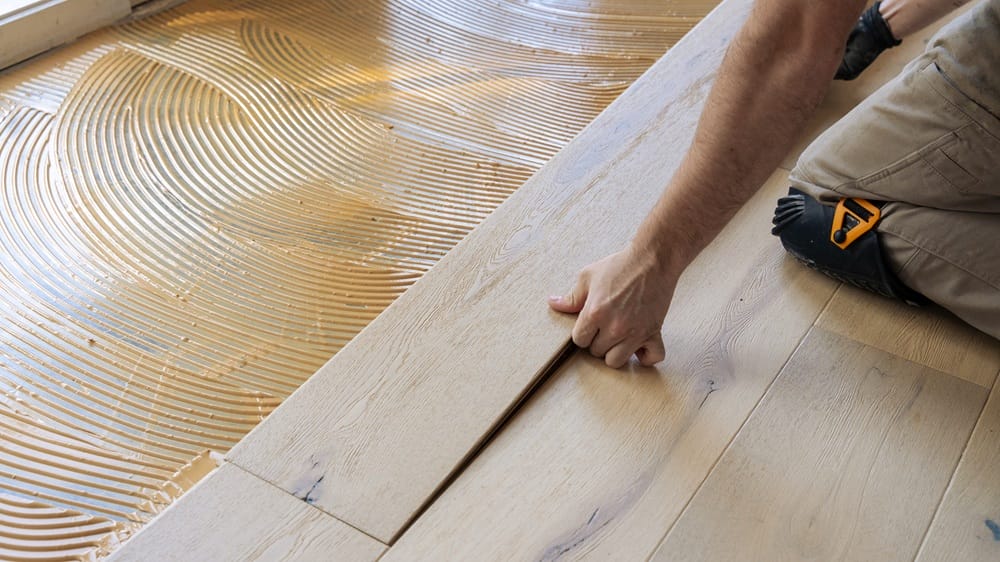
3. Lay the foundation
The actual laying of your timber flooring will differ depending on the method and your subfloor.
- The Glue-Down: this starts with a thoroughly prepared and pristine subfloor, onto which a specifically chosen adhesive is applied. Each plank is then carefully placed, ensuring a firm and even bond with the subfloor. This technique provides a strong, lasting hold, ensuring each piece of flooring is securely anchored.
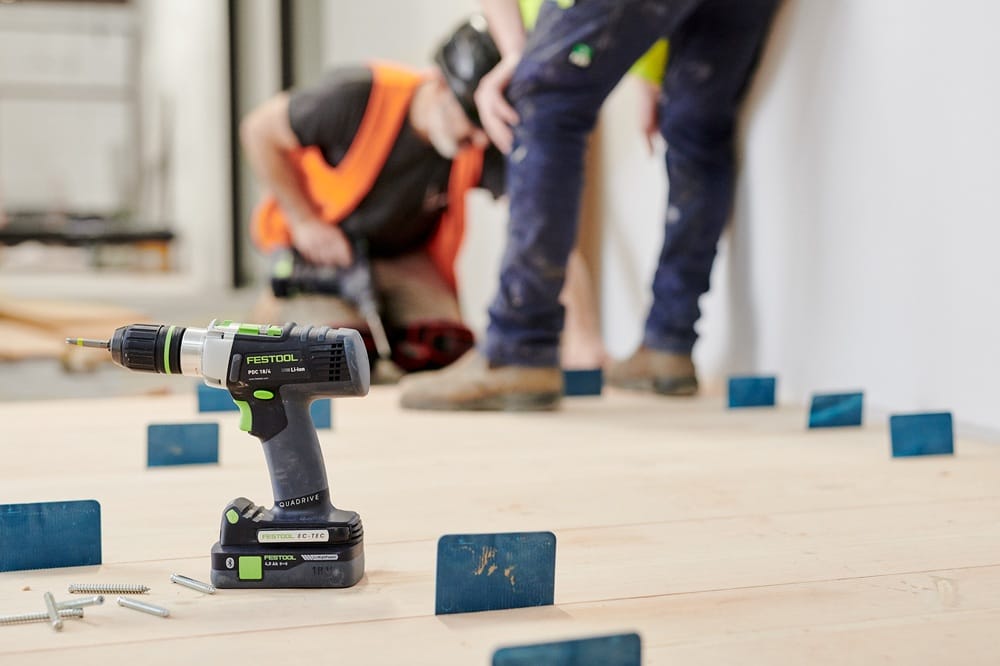
- The Staple/Nail-Down: this begins with ensuring the subfloor is level and secure, followed by carefully selecting the appropriate nails or staples for the flooring material. Each plank is meticulously positioned and fastened, creating a tight, seamless surface. This method offers a sturdy, long-lasting fit, with each nail or staple ensuring the floor remains stable and even.
- The Over Timber Battens: this involves securing timber battens to a well-prepared subfloor, creating a robust framework. Planks are then meticulously laid and fixed onto these battens, ensuring a sturdy and elevated flooring structure. This method not only offers enhanced support and stability but also allows for better air circulation beneath the floor.
- The Floating: this involves laying planks that interlock with each other over a prepared subfloor or underlay, without direct attachment to the subfloor. This technique allows for natural expansion and contraction of the flooring, making it ideal for environments with varying temperatures and humidity.
4. Finishing touches
After installation, there are a few finishing touches that need to happen before you can start moving in your furniture and family! Here’s what we do.
- Clean: Sweep and mop to remove installation debris and dust.
- Inspect: Check for gaps, raised edges, or irregularities.
- Fill Gaps: Use colour-matched wood filler for gaps or imperfections.
- Trim and Molding: Install baseboards, moldings, or trim to cover expansion gaps.
- Seal: Apply sealant if recommended for extra protection.
- Adjust Doors: Trim doors if necessary for smooth opening over new flooring.
- Install Vent Covers and Transitions: Place vent covers and transition strips at doorways or between different floors.
- Final Clean and Polish: Clean and polish the floor with appropriate products.
- Replace Furniture: Carefully put furniture back, using felt pads under legs to protect the floor.
Should I install engineered timber flooring myself?
The question of whether you can install engineered timber flooring yourself has a nuanced answer: Yes, you can, but it’s not always the wisest choice.
If you’re armed with the right experience and skills, embarking on a DIY installation could be a fulfilling project. However, remember, this is your sanctuary – your home. Unless you’re well-versed in the art of flooring installation, taking on this task might be more of a gamble than an adventure.
Think about the impact of your workmanship on your home’s aesthetics. A less-than-perfect installation could lead to a floor that doesn’t quite capture the elegance and charm you’re aiming for. Plus, technical missteps like gaps, peaking, or cupping can transform today’s project into tomorrow’s headache.
So, while rolling up your sleeves and doing it yourself is tempting, we often recommend entrusting your engineered timber flooring to the hands of professionals. This way, you not only guarantee a stunning finish but also ensure the longevity and integrity of your flooring. After all, your home deserves the best!
For more information on installing your engineered timber flooring, read our Installation Guide!
Call in the installation experts
Ready to elevate your home with stunning engineered timber flooring? Reach out to our team of experts for professional advice, timber flooring installation services, or any queries you might have, and let’s start the journey to your dream interior.
Related Articles
View all articles
Why Most Australians Go For Timber Flooring Installations
